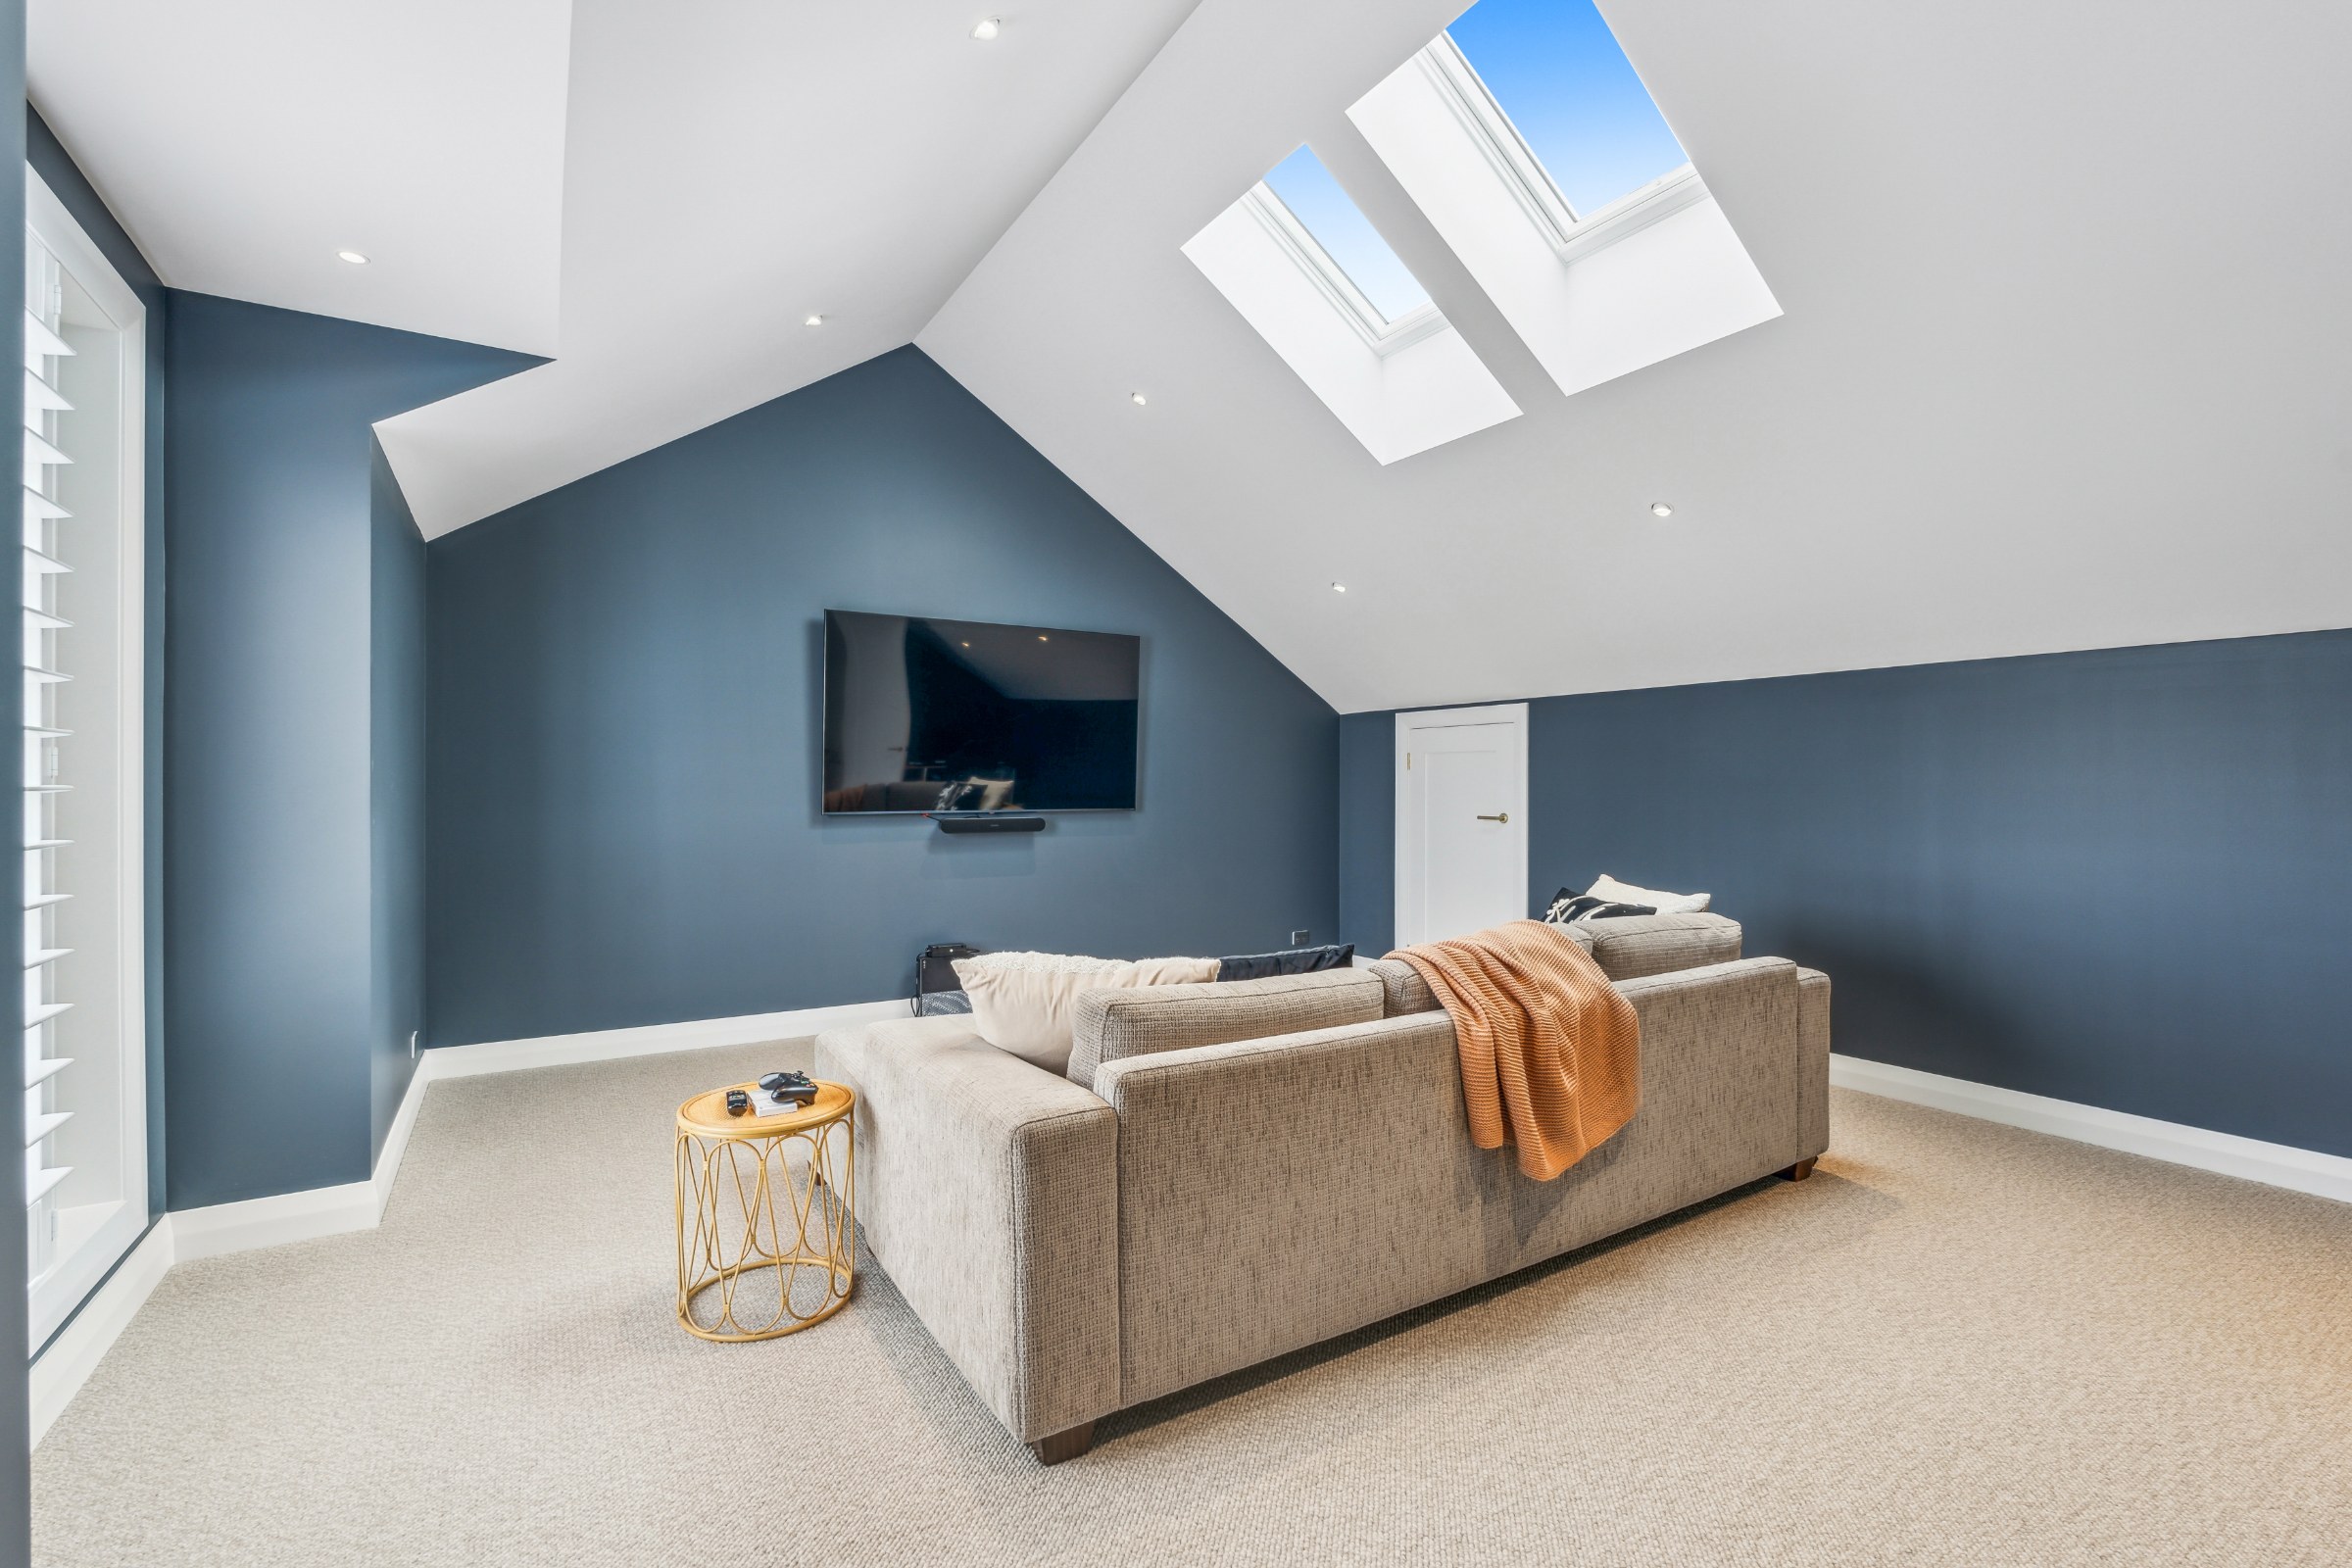
Most buyers decide whether to view a home from the photos alone. The difference between an average gallery and a great one isn’t expensive equipment — it’s a set of choices made consistently in every room. These are the ones that matter most.
Light that looks natural
The best interiors look the way the room feels on a good day: bright, but not flat or artificial. That usually means working with the daylight in the room and adding light only where it’s needed, so shadows stay soft and the space keeps its character. Heavily processed HDR — glowing edges, grey whites, cartoon skies — makes a home look less real, not more appealing.
The right camera height
Shooting from too high makes rooms look small and furniture look squat. Shooting from too low distorts the ceiling. Most rooms look truest from around chest height, with the camera level so the room keeps its real proportions.
Straight verticals
Leaning walls and door frames are one of the quickest signs of an amateur photo. Keeping verticals straight — in camera and in the edit — makes every room feel calm and well built.
Views kept visible
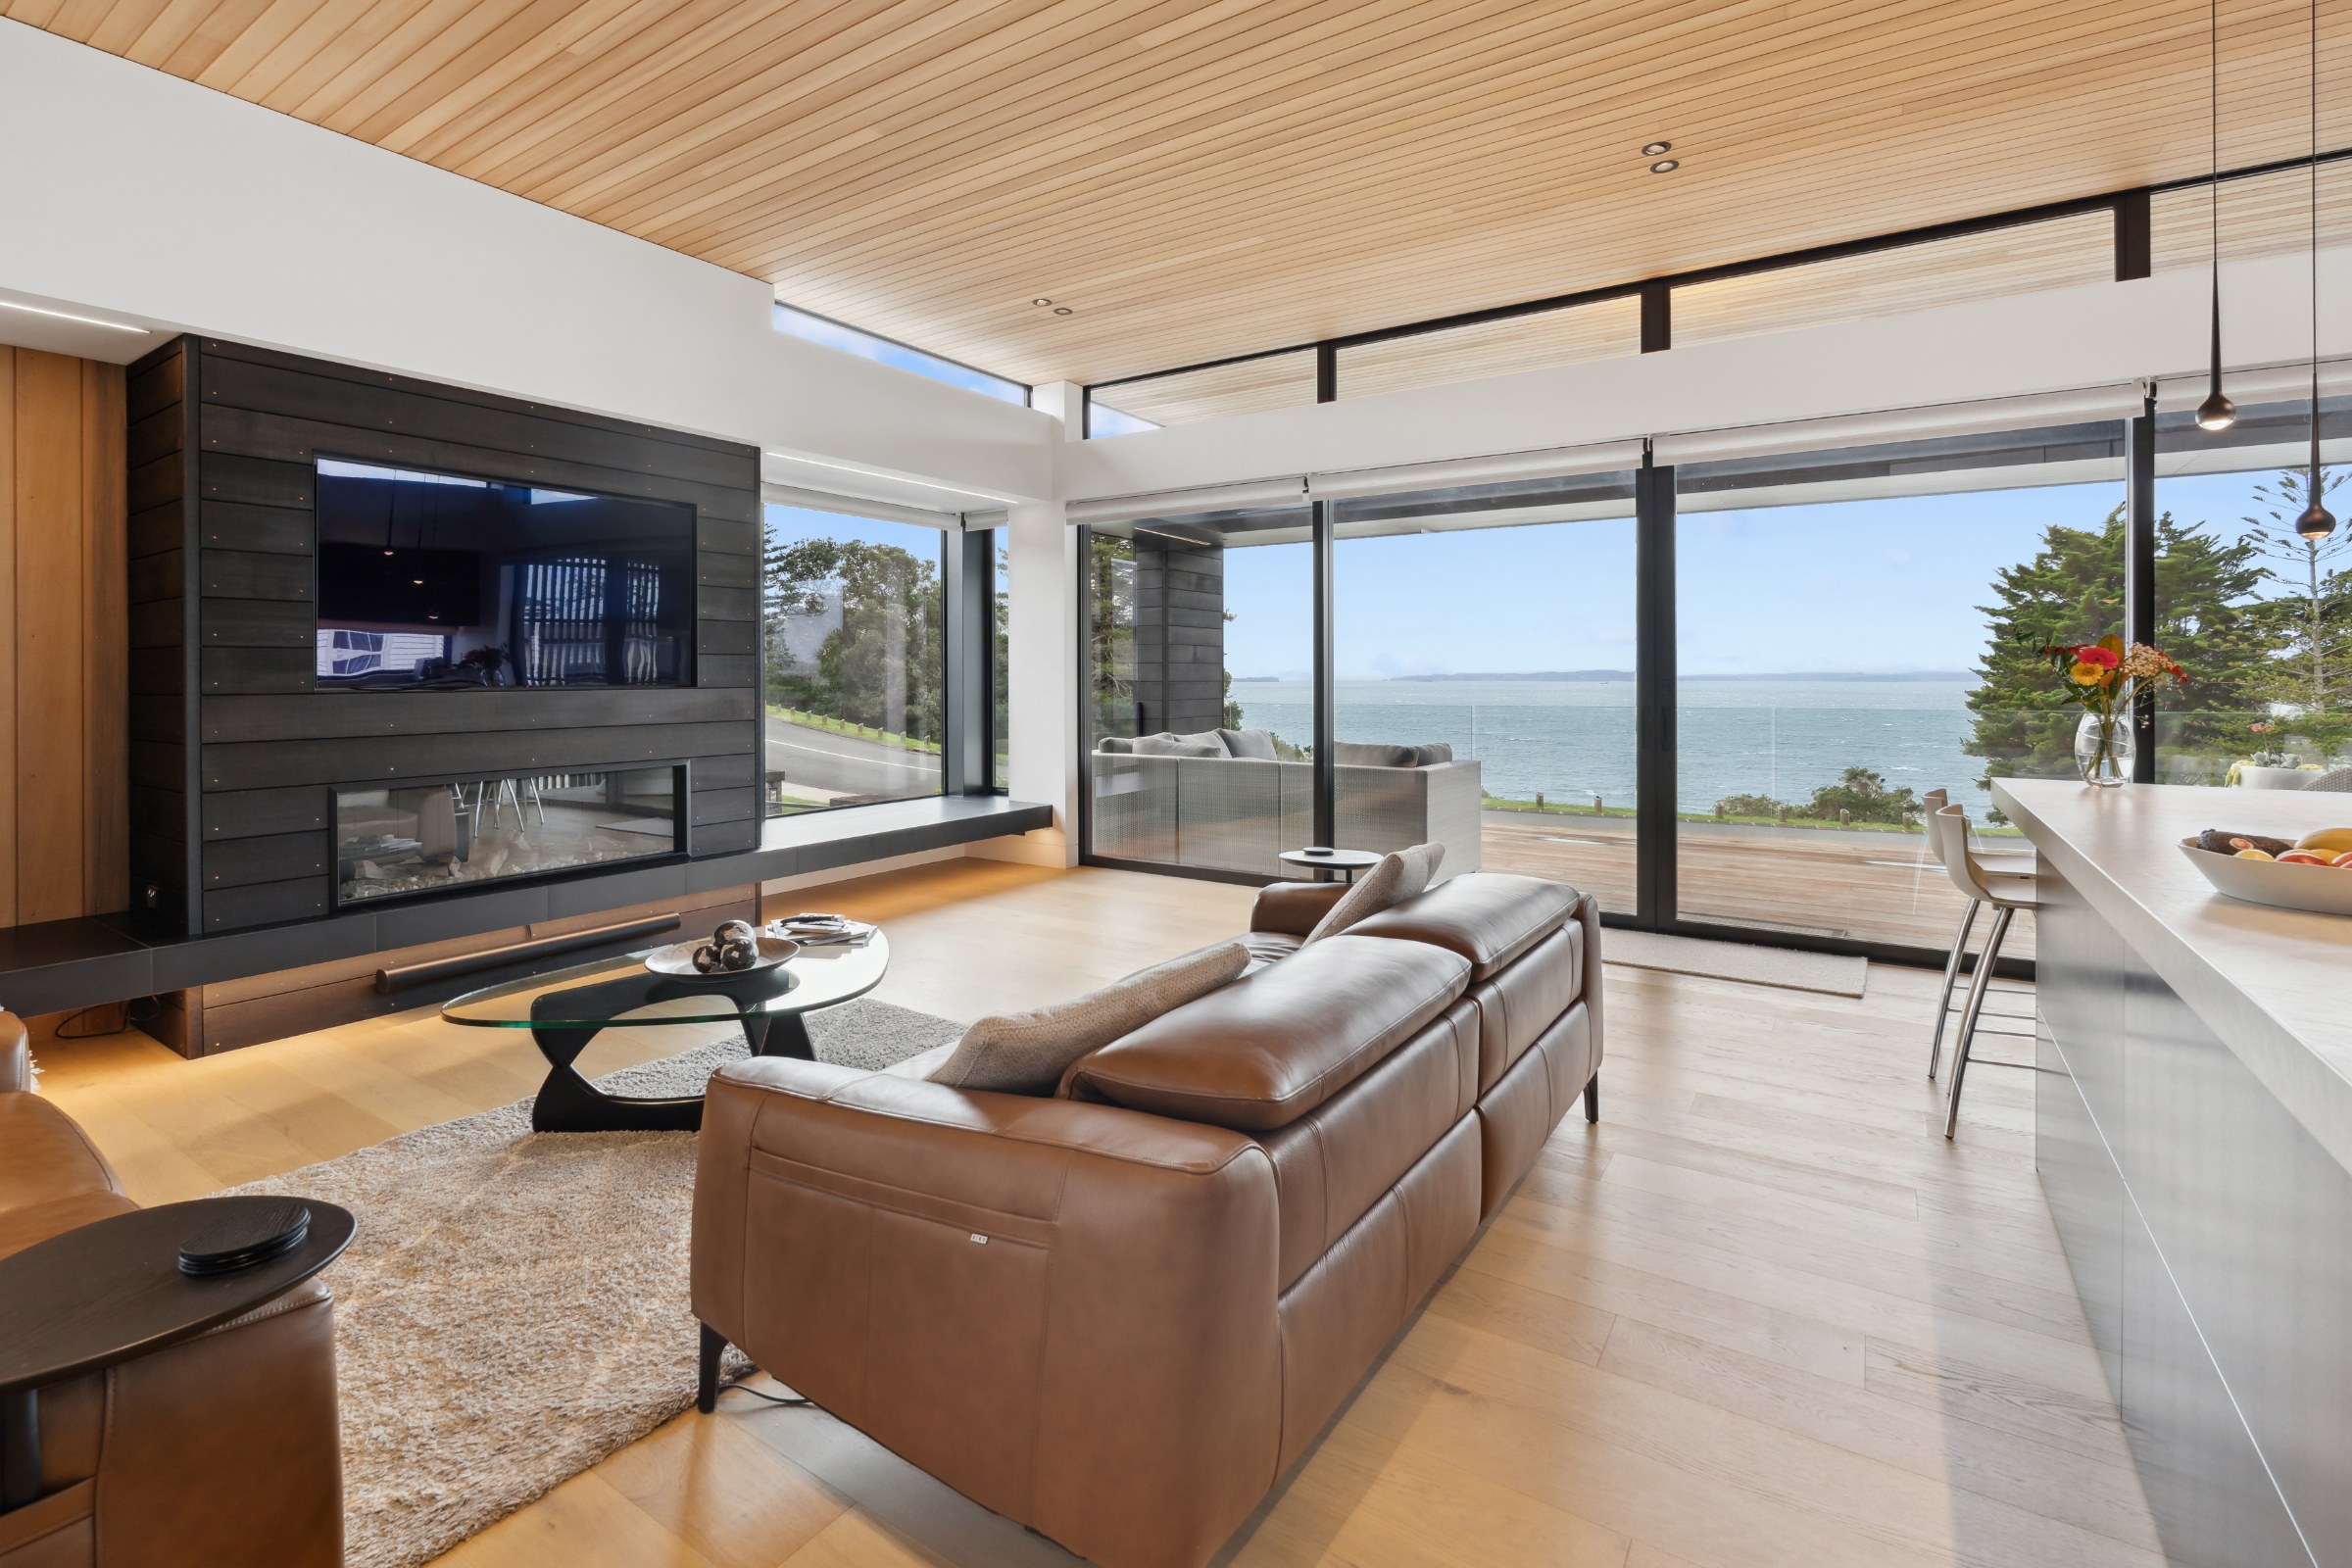
If a home has a view, buyers want to see it through the window, not a white rectangle where the glass should be. Balancing the light inside and outside keeps the view in the frame, which matters for homes near the water or with a green outlook.
Accurate colour
Buyers should walk in and recognise the home from the photos. Colour is corrected so whites are white, timber looks like timber and the walls are the colour they really are.
A sequence, not an inventory
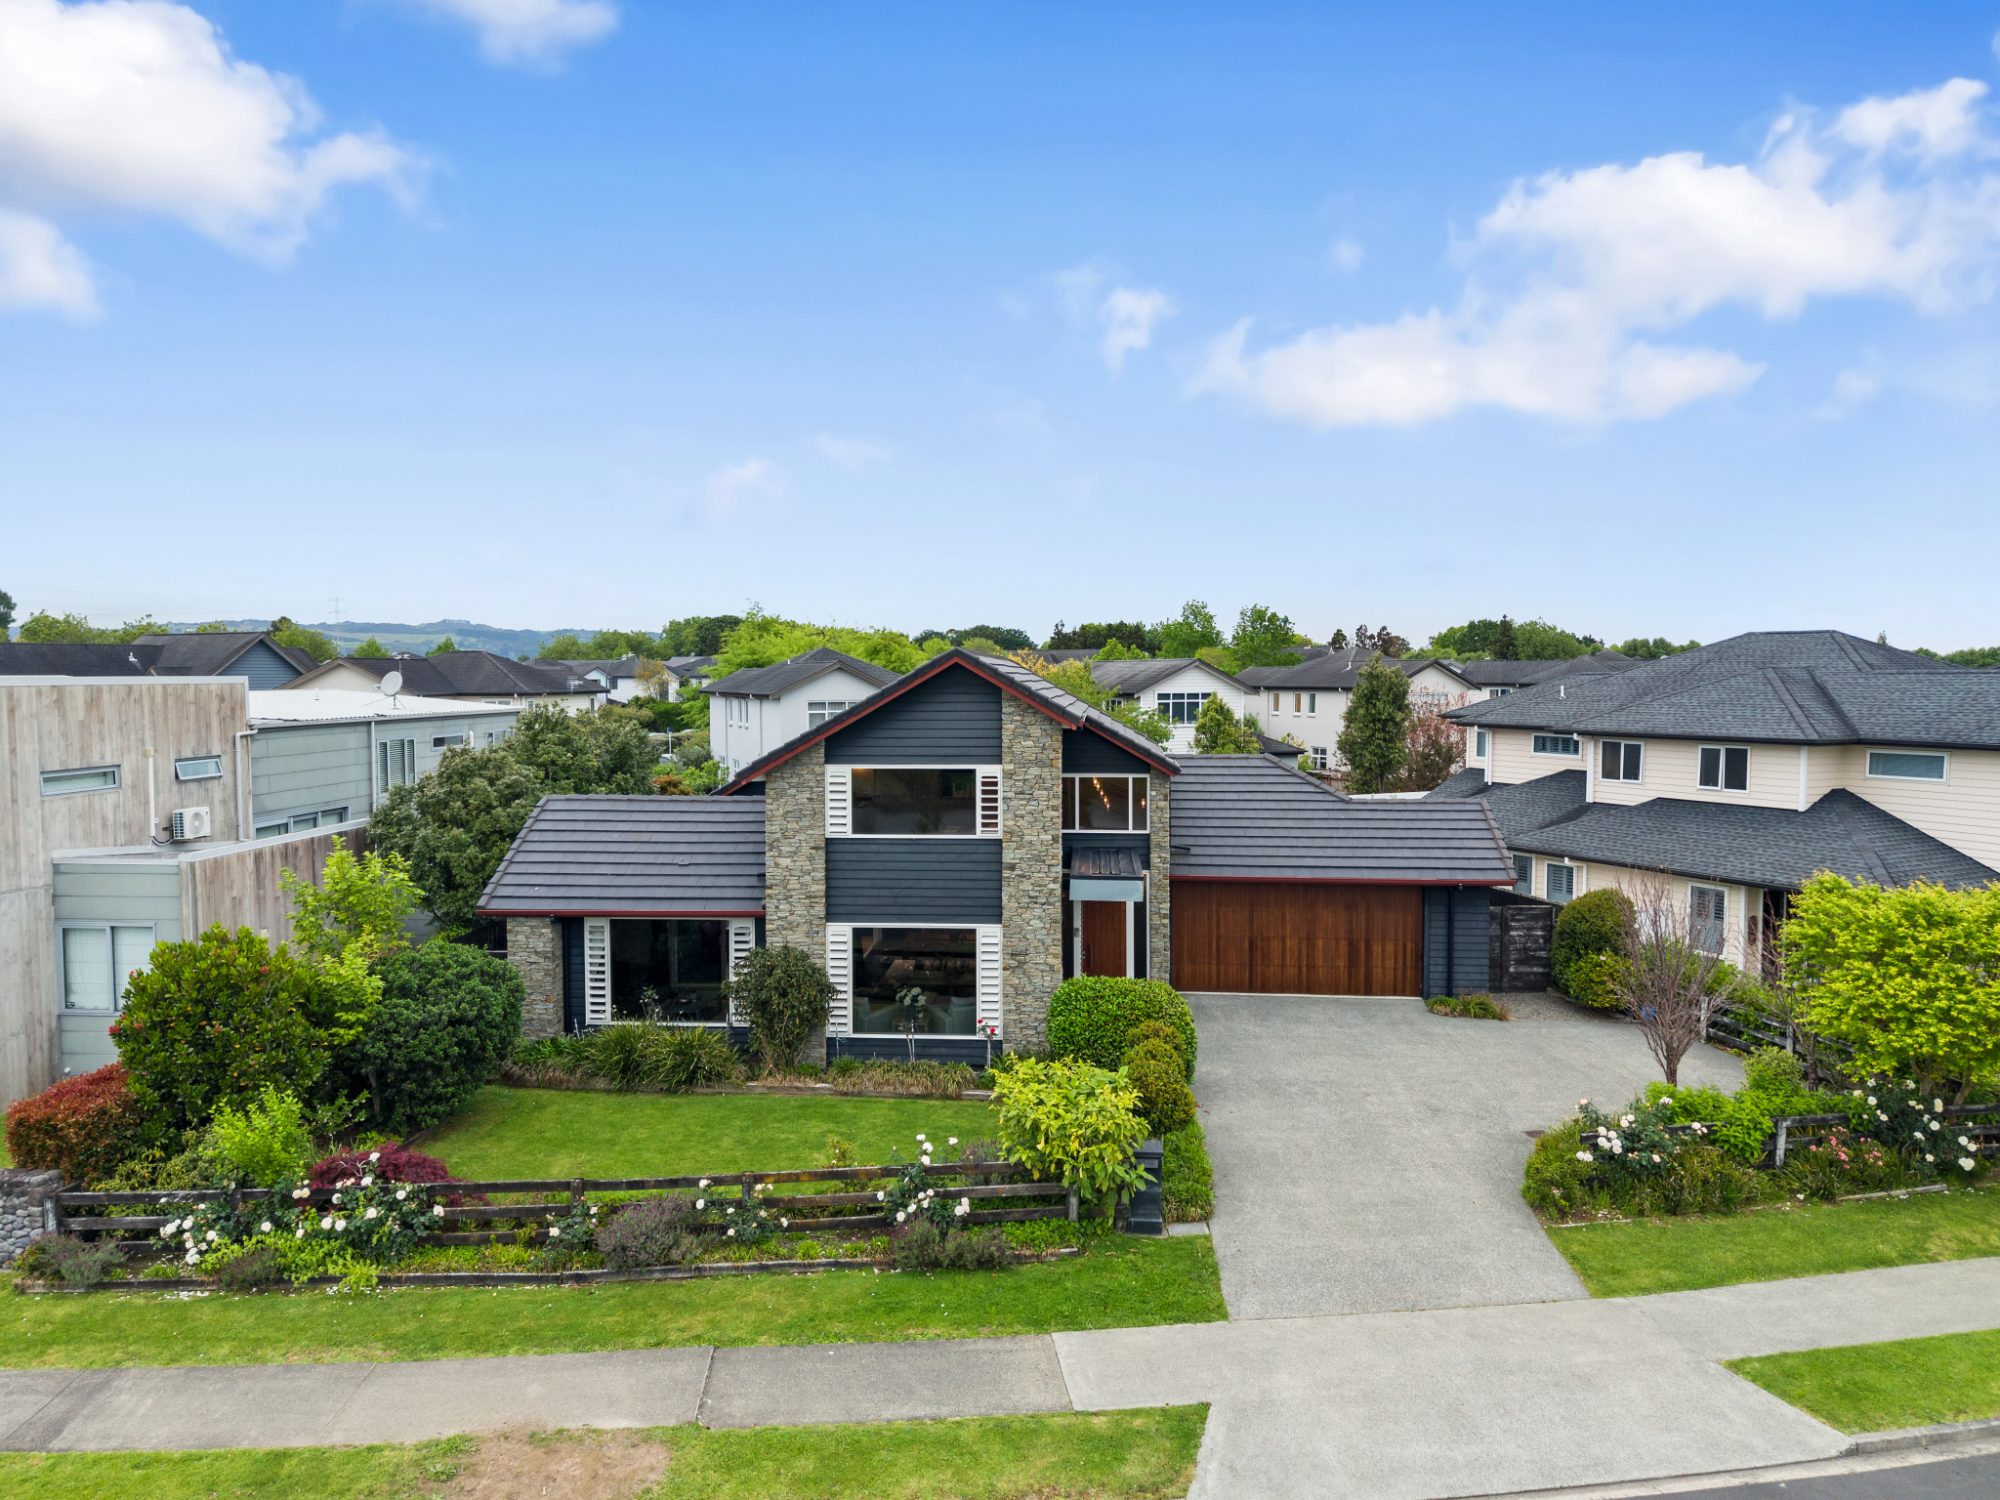
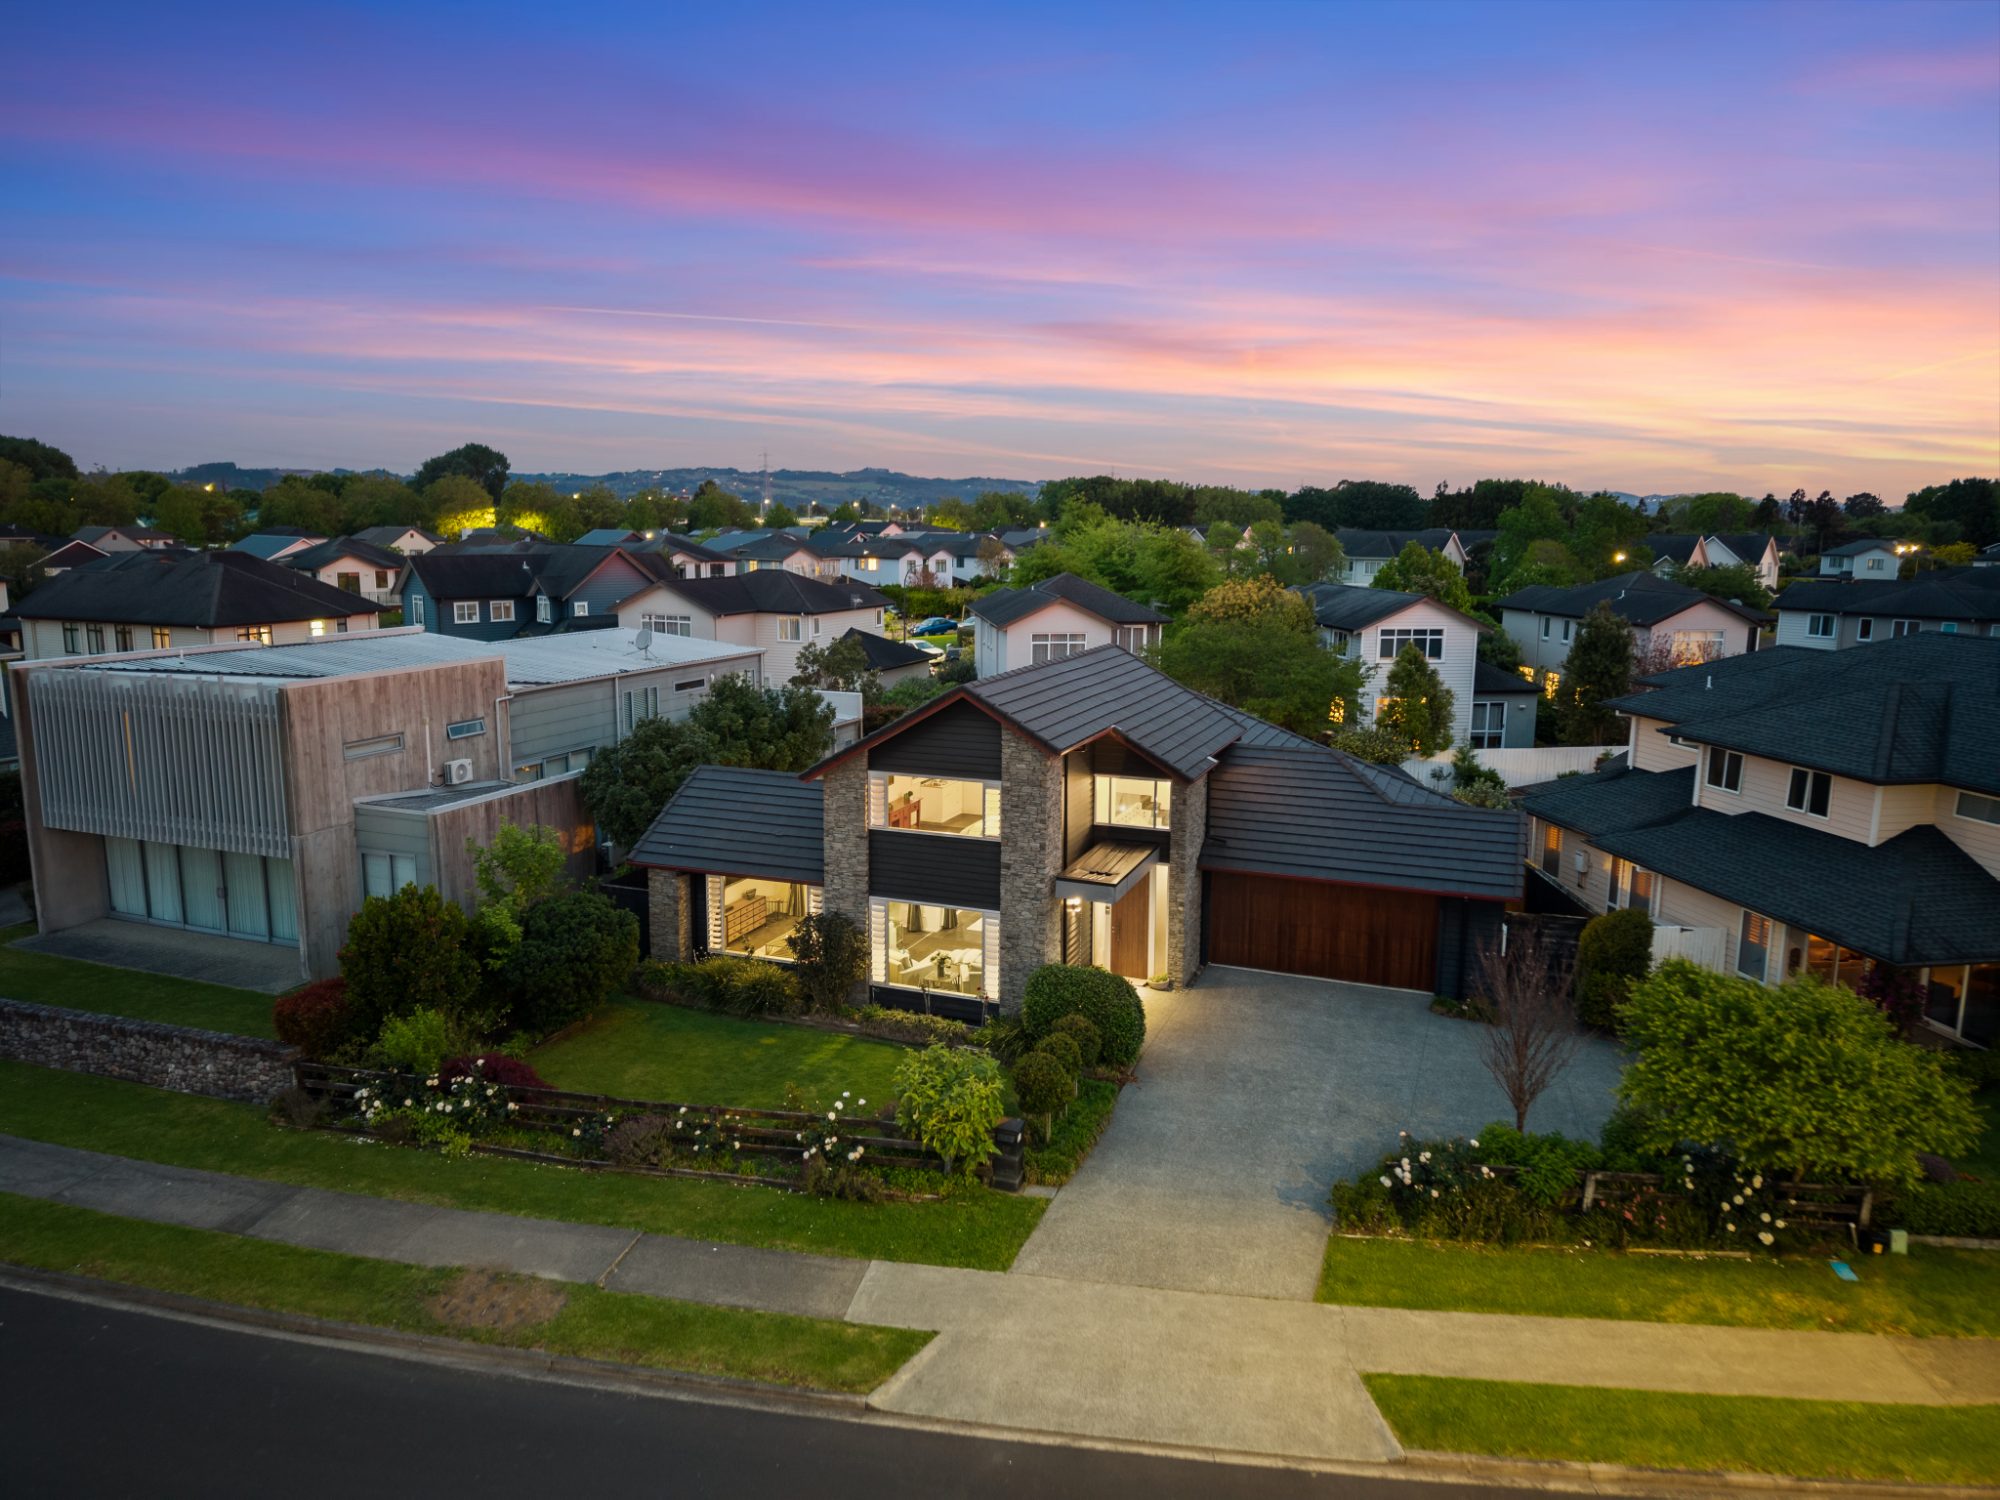
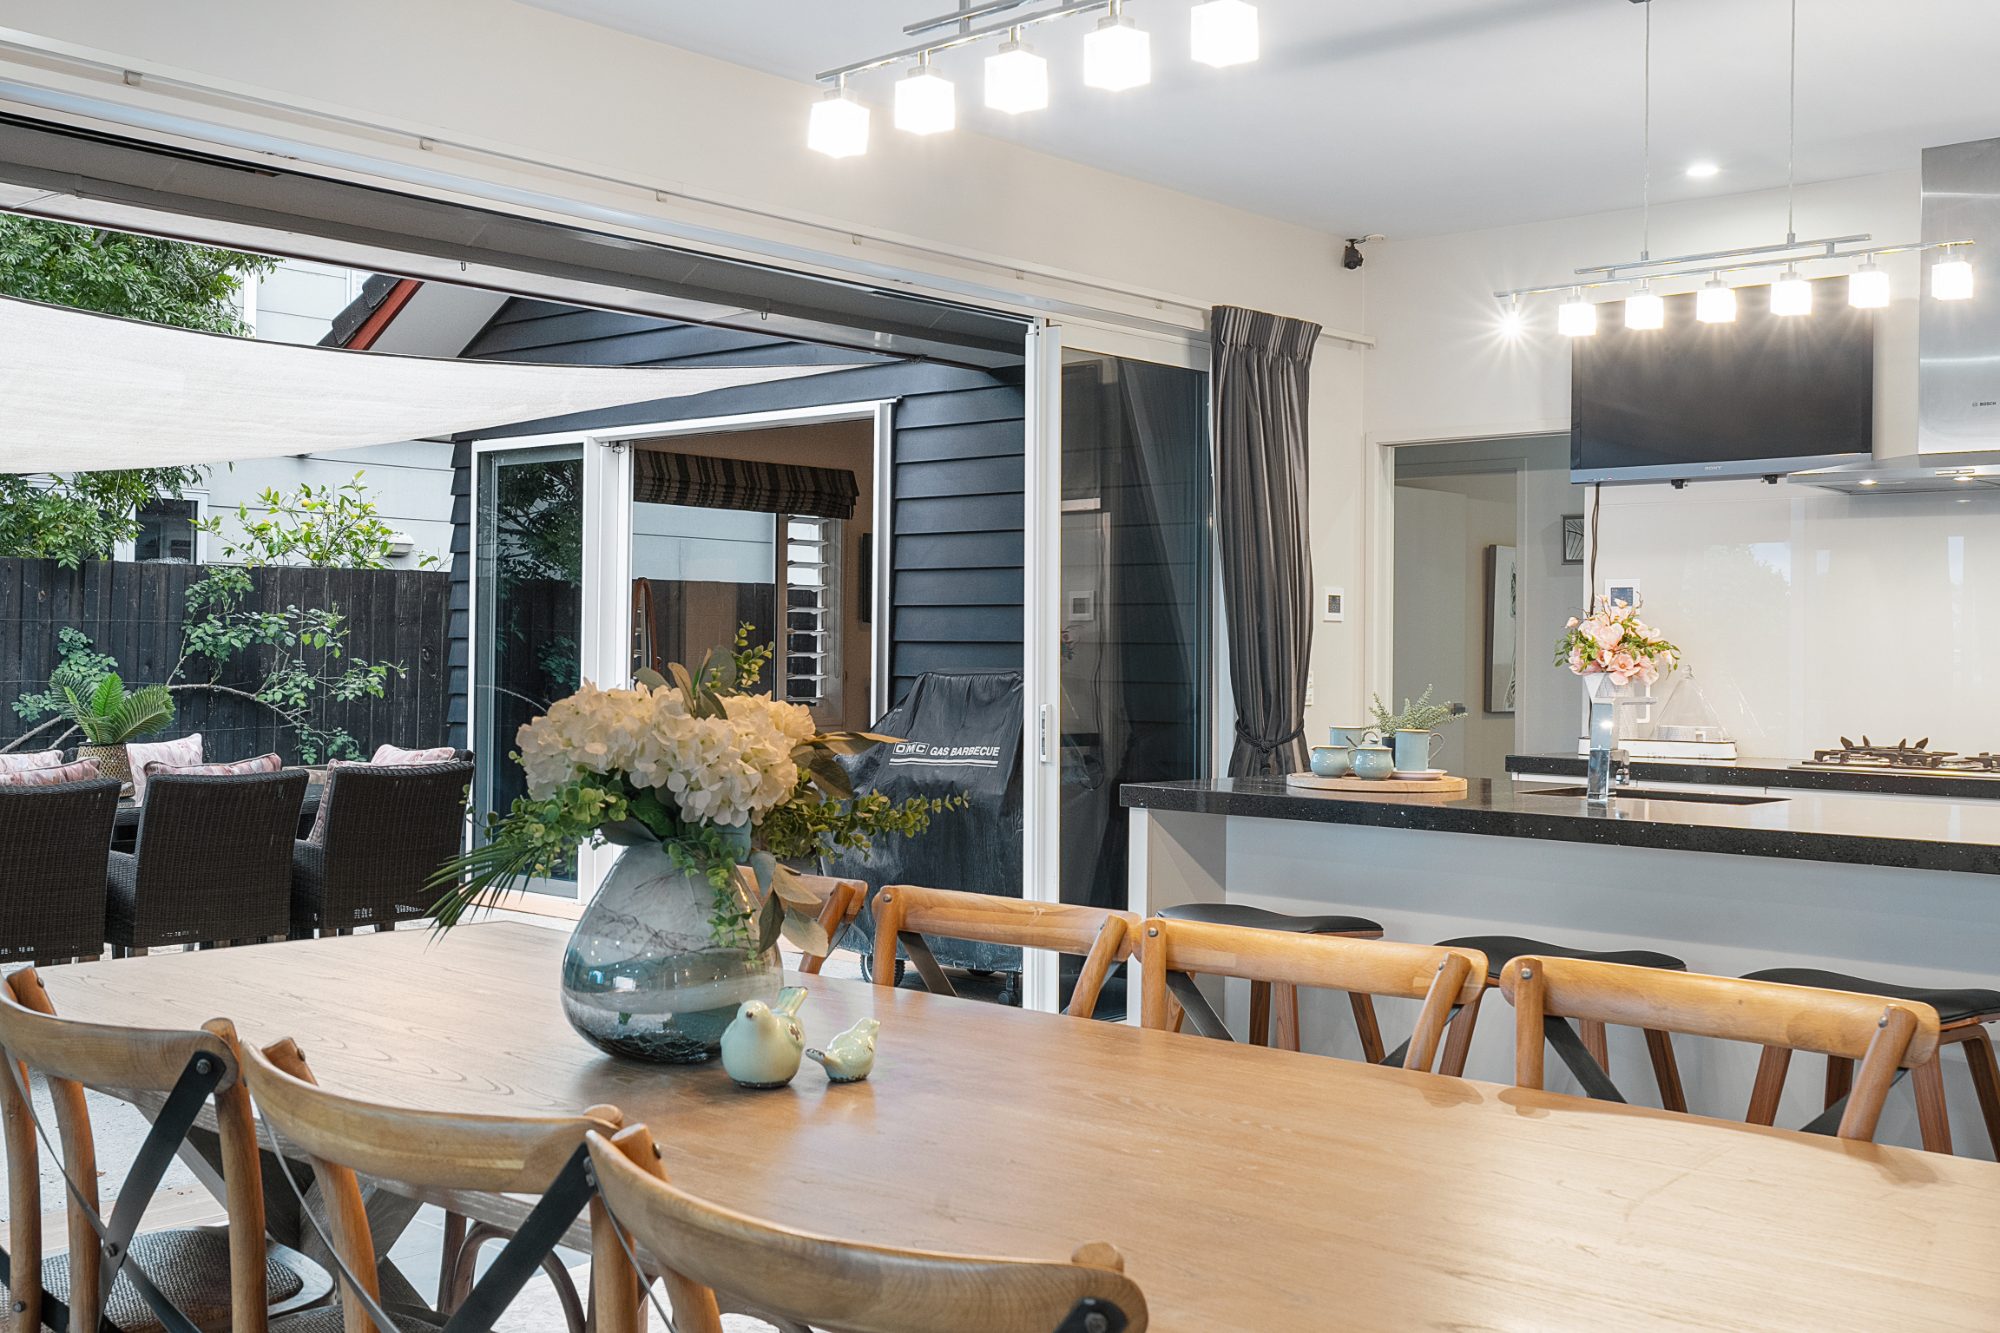
A great gallery reads like a walk through the home: the street, the entry, the living areas, the kitchen, out to the garden, then the bedrooms. Detail shots between the wide images give the set rhythm and show the finish of the home. The first image — often an exterior or a twilight shot — has one job: to make someone stop scrolling.
Preparation
Even the best photographer can’t hide clutter. Clear benches, open curtains, lights on, cars and bins out of sight — small things that make a big difference in a wide shot. Our guide to planning a property shoot covers it step by step.
Consistency
Finally, every image in the set should look like it belongs together, and every listing an agent runs should look like it belongs to the same brand. That’s what turns good photos into a recognisable standard. See our real estate photography in Auckland, or selected campaigns for complete examples.